Monday 27 November 2017

Noodle Man is Ready

I finished off the characters first and moved on to the background and cheese after.  I utilized the polyline tool as well as the curve interpolate point tool the most.  I also used offset a fair bit and a lot of trim.  I started off building individual shapes but later realized the effectiveness of building the larger shapes and adding the smaller shading after the fact and trimming away the unneeded parts.  I'm going to be copy and pasting some of the noodles to add on the sides of my binder! 


This will be printed this week and added onto the binder! As well this next week would also be focused on finishing up the reconstruction of the hacksaw!

Sunday 26 November 2017

Mask 3D Modelling Process

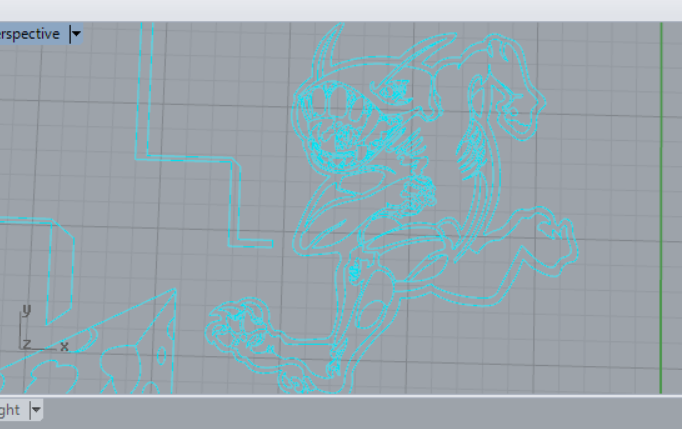
So as a continuation of last week's paper model I have started to mock it up in Rhino!  I am getting a lot faster with problem solving, and am a lot more comfortable with building shapes precisely in rhino!  I started off with the overall mask shape that I would cut out.  So I measured the width of the curve and the length of the mask and used the Ellipse Diameter tool to build the circle off it. I proceeded to cut off the unnecessary half.


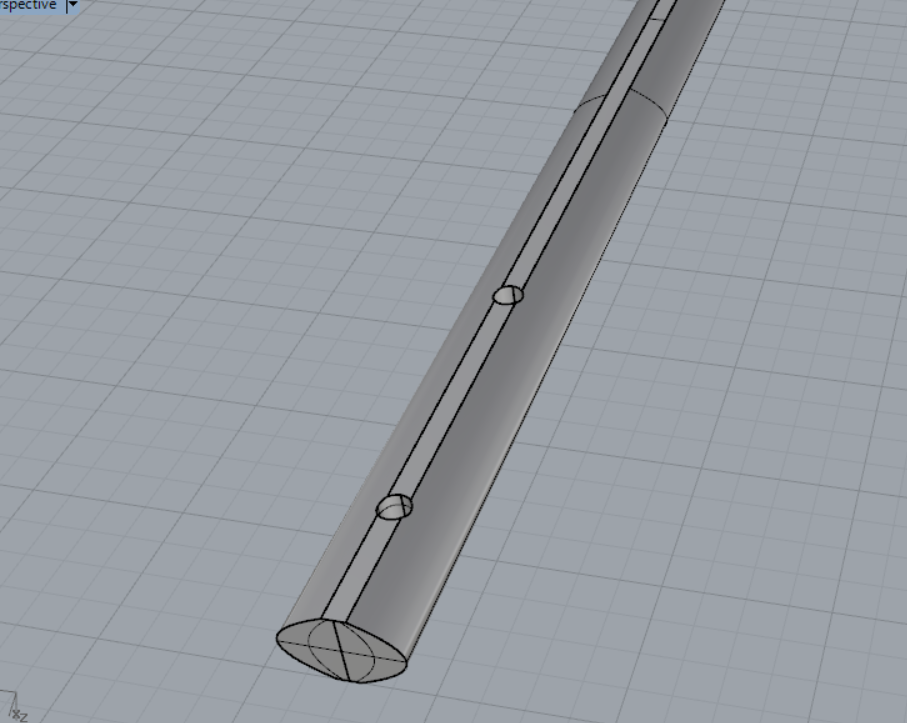
I measured the height of the mask and then extruded the curve to that height, capping the surface afterwards.


The top of the mask has a sort of overarching cover which has 3 main folded points.  I measured those and drew out lines from them.  


 I struggled a bit in connecting the angled outer lines to the main base since it didn't fall on a definitive point so I ended up making longer lines to go through and then marked the interception point in the Osnap channel and moved the correctly sized line to that point.


Then it was time to start the nose!  I measured out key points, such as the top and bottom of the opening and the sides, and marked them with correctly sized lines.  The circle was created for the bottom of the nose.


I set up a bit of an interlocking system here to properly build a symmetrical curve in the middle.


There was a bit of an angle to the longer shaft of the nose which I measured out here.


After this I created the cutoff of the mask underneath!  The line at the bottom is an approximation of where the mask ends.  This was a little harder to measure because the decorative spikes are to either side of the middle and angled.  It ended up being a little off which unfortunately required me to rethink some things.


The eye was rather simple, I had to mark some spots with other lines to properly use the curve interpolate point tool properly with the least actual points.  


Finally getting to work on the jutting out "nose" was the next thing I tackled.  I had to figure out how to create an angled shape that was equal on other side.  I got the length of each side and then copied it.  I then used rotate and created the line of rotation for each and ended up with with a result i was happy with.  I had to change the rotation percentage to 50% to properly align it.  


I took a picture of the two different cheek components! This part after figuring out the first parts was probably the easiest part.    I would take a photo, then measure a solid point of reference.  After which I would measure out a line in Rhino and then reposition the photo to match to which I would trace the rest of the shape out.


Overall I'd say it was a success! I extruded some shapes to later be taken out from the main shape.  This was mostly about building the core shapes to later use to make the final rendition of the mask.


Sunday 19 November 2017

Macaroni Menace Ready for Rhino

Took me longer than I thought but I finally have it drawn out and ready to be drawn up in Rhino! I'm still debating on whether or not to add text to fill in the newspaper portion or not but either way it would be a very simple and fast addition! I have been carefully considering all the shades and their layout to make sure the main elements would pop and the less important elements would take a backseat.  There are bits and pieces that are not perfect but all of that will be fixed in Rhino!

Unconventional Eye-wear: Card-Stock Mock-up

So the next step of creating the Sunblocker 5000 was modelling it out of paper to get proper measurements and have a functioning model! I originally started with precise measurements of my face but then later, when I printed out my "blueprints" I found them quite accurate to the sizes I was measuring anyways.  So quite by chance and luck I could do a lot of my work based on that.  I used a mannequin head for reference, but more of the measurements and fittings are based on my own head. 


Attaching the top rim was an interesting process of rounding, but it was only after I taped this together quickly that I realized that the shape of the head was way off.  This was my first mock-up, just to get the most basic layout down so I had time to fix it before my final one with card-stock.


 I rounded out the shape and cut it out of paper.  Here is the cut shape on the mannequin head to show the improvement.

I began to trace the rough shapes onto the card-stock and cut them out.  I used the curve mixed with the protrusion of the original design to make a more accurate visor and put it together.


I then decided to add and take away from this to create the final rendition! The ears of this fit better on my own head than the mannequin's.  The nose took some thinking because I wanted it to fit with the visor but I wasn't sure if I could make it work with just two pieces or if I'd need a separate part for the bridge of the nose.  I managed to just make two parts but later if it works better I might add in the bridge. Overall I'm really happy with how this came out!  I lucked out with a lot of my process and it came together quite well.


Monday 13 November 2017

Progress Shots

I've been working on catching up on some of my other work!  One of which I went from almost done to re-imagining it in a more creative format.  I got less far ahead than planned because I came down with a serious flu with bronchitis and fever so I had to prioritize some resting so I could properly attend classes.  Nonetheless I have been working away at these!


Gettin' a lot closer with these!  Now all I have to finish is the screws and hollow out some pieces!


As for the vinyl this was where I was at before

But then I realized as cool as this looked it didn't feel creative enough or pushed enough.  (I'd still like to make this into a T-shirt however but at a later date.)


So I began sketching some other ideas featuring this little noodle:
This one would have been more detailed and gone on the side of my portfolio, leaping onto the flap to escape the cheese.
Another one that would have gone on my portfolio, or on a recipe box


This next one I ended up really liking.  I'm going to be adding more noodles and cheese flowing out from the newspaper photo.  This will go on my anatomy binder to add a bit of flair to it.  I want to try using multiple vinyls, so a black and a white while using the colour of the binder as the mid-ground.  I'm doing a mock up in Photoshop and then tracing the layers on different layers in Rhino after.    


Unconventional Eye wear Rhino: not yet satisfied

  So building up this eye-wear was very challenging but I also learned a great deal about Rhino through it!  With so many points it was eas...